
Loading Hierarchies from Flat File using the new Data-Source and Transformation
Introduction
flat file by creating transformations, Info-Packages and DTP’s. This paper explains the step by step procedure to load the plant hierarchy data, which is available in a Flat File, to ‘ZPLANT’ info-object.
Hierarchy Flow


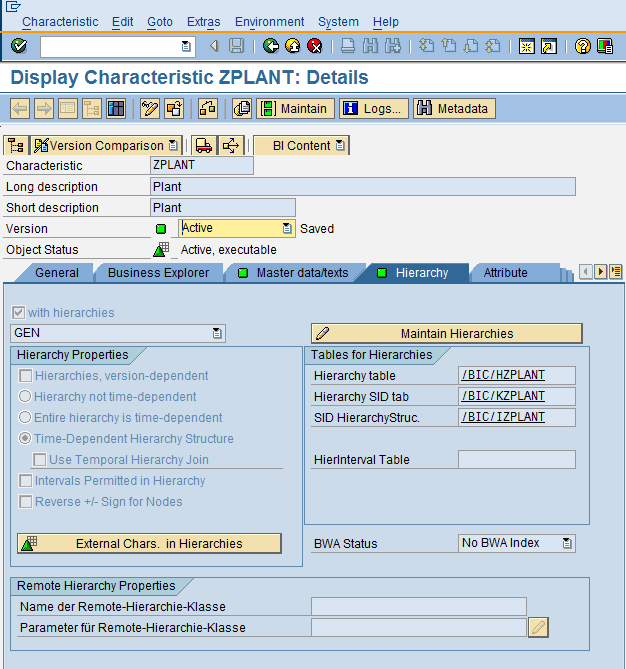
You have assigned an InfoArea to the characteristic in the InfoObject maintenance. The hierarchy becomes an InfoProvider.
Scenario
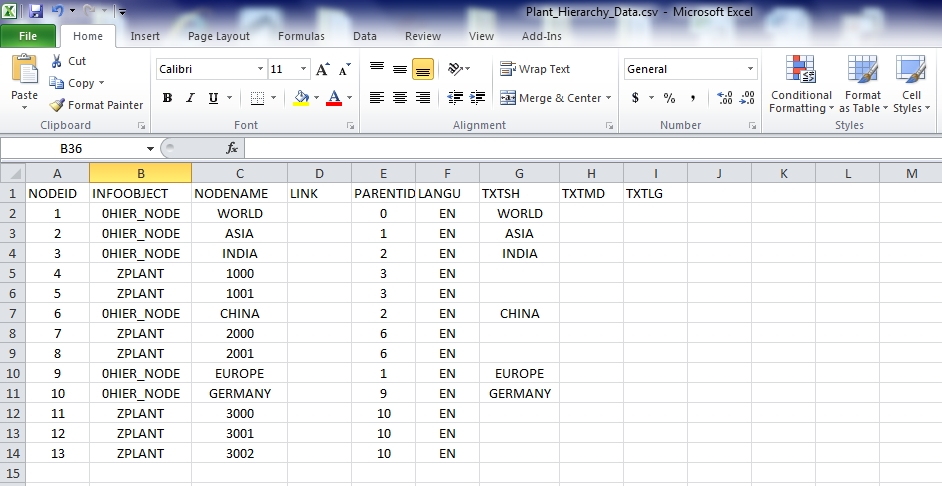
We want to load the plant hierarchy data to ZPLANT infoobject. The flat file, which has the plant hierarchy data, is given below.
Steps:
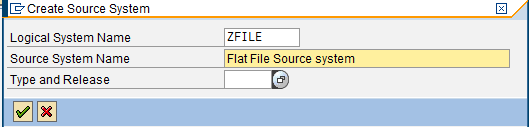
Step 1: Create Flat File Source System
Create a Flat File Source System ‘ZFILE’
Step 2: DataSource Creation
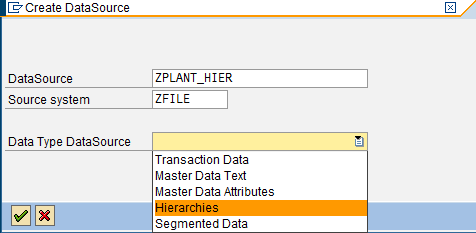
Create a 7.X DataSource ‘ZPLANT_HIER’ and select the Data Type Datasource as ‘Hierarchies’
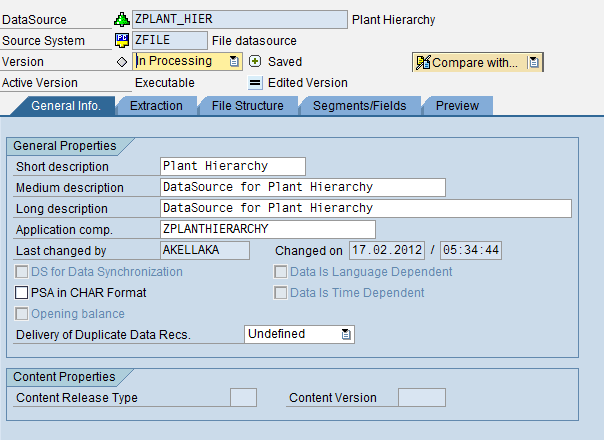
Give Short, Medium, Long descriptions in the General Info tab. The screenshot is given below:
In Extraction tab, give the path of the file and data separator as ‘,’ as this is a CSV file. Also, give target infoobject as ‘ZPLANT’ as we are loading hierarchies for Plant infoobject.
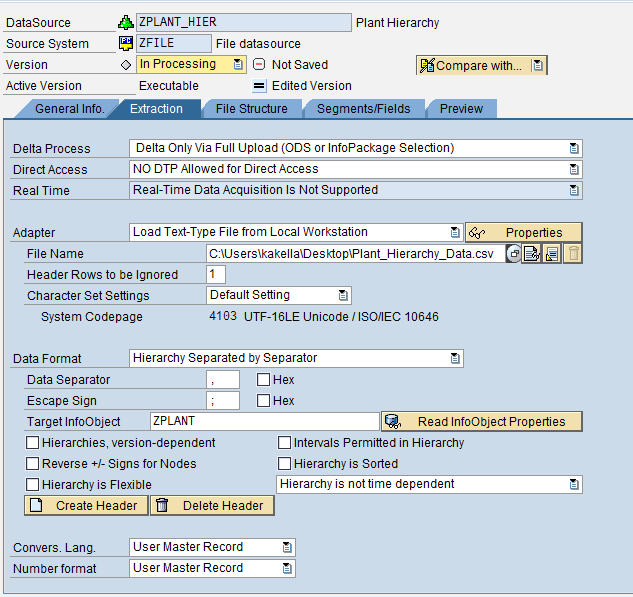
Next, click on create header.
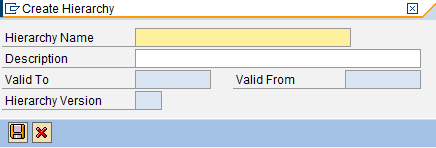
Fill in the Hierarchy Name and Description as shown below:
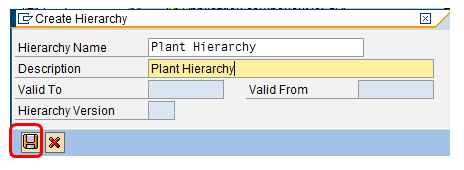
Now, save the hierarchy.
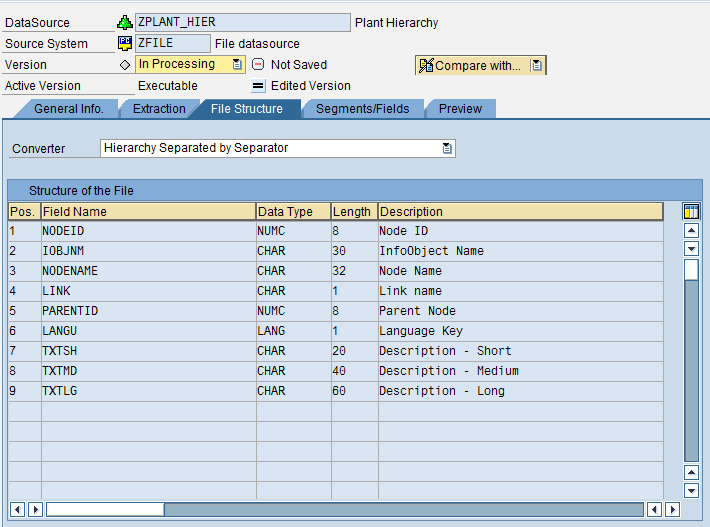
In the File Structure tab, we can see the structure of the file to be created. The CSV file, whose screenshot is given above, has been created using this structure.
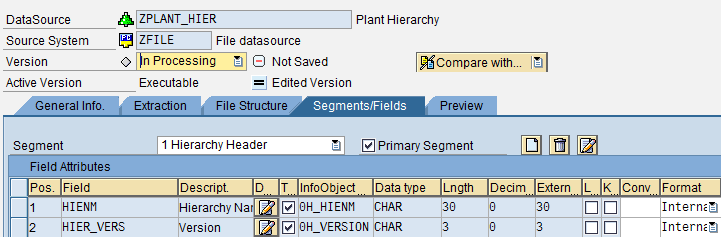
In Segments/Fields, we can see the different segments. Hierarchy Header is the primary segment. The screenshot of ‘Hierarchy Header’ is given below:
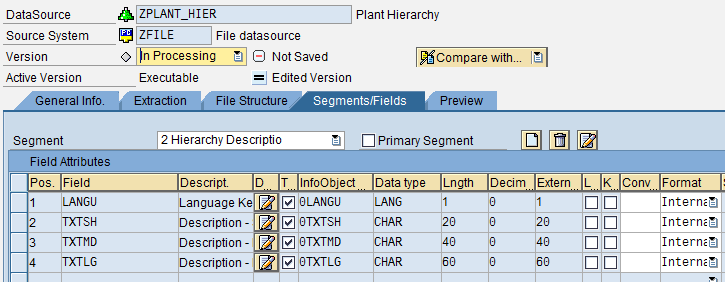
The screenshot of ‘Hierarchy Description’ segment is given below:
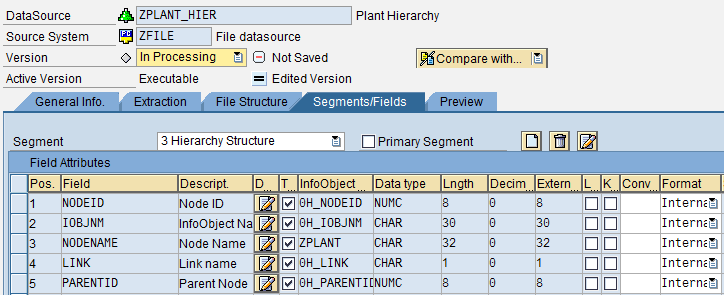
The screenshot of ‘Hierarchy Structure’ is given below:
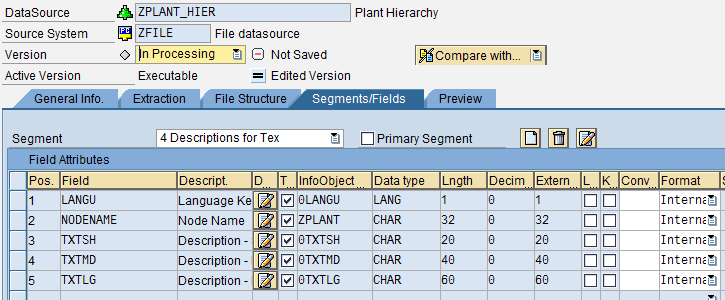
The screenshot of ‘Descriptions for Text’ is given below:
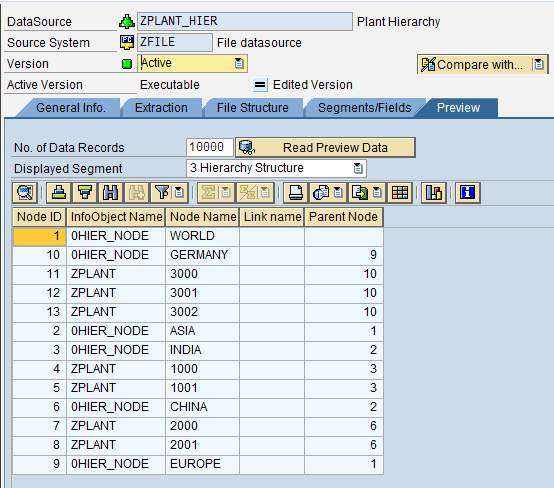
Now, Preview the data. The screenshot is given below:
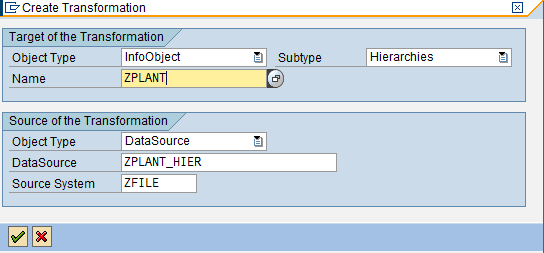
Step 3: Create Transformation
Select the Object Type as ‘InfoObject’ and subtype as ‘Hierarchies’
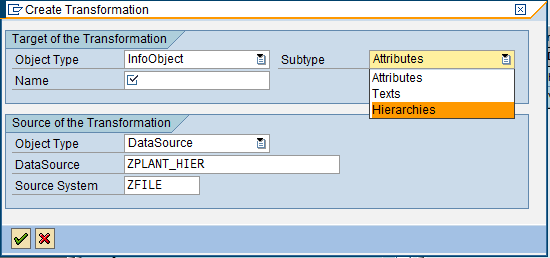
Mention the target as ‘ZPLANT’ as shown in the below screenshot:
The transformation screenshot for ‘Hierarchy Header’ is given below:

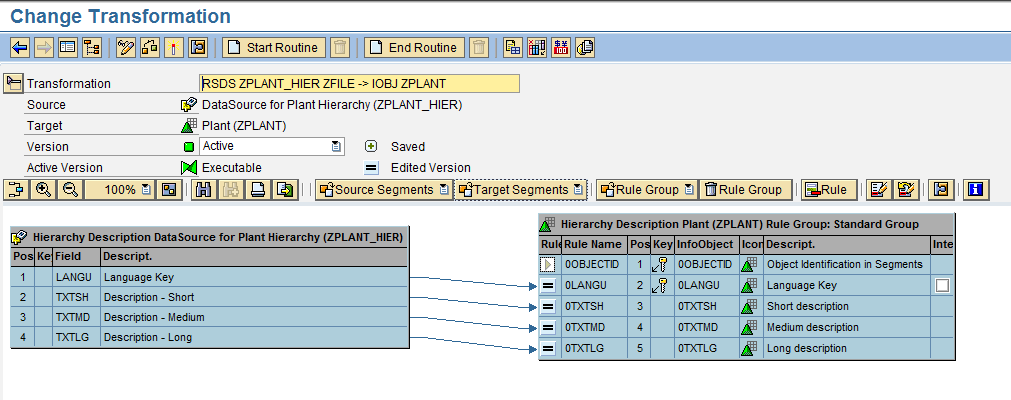
The transformation screenshot for ‘Hierarchy Description’ is given below:
The transformation screenshot for ‘Hierarchy Structure’ is given below:

Here, make sure that you map ‘NODENAME’ field to ‘ZPLANT’ infoobject .If you are maintaining data for any other external characteristics in the flat file ,then make sure that you map ‘NODENAME’ to them as well.
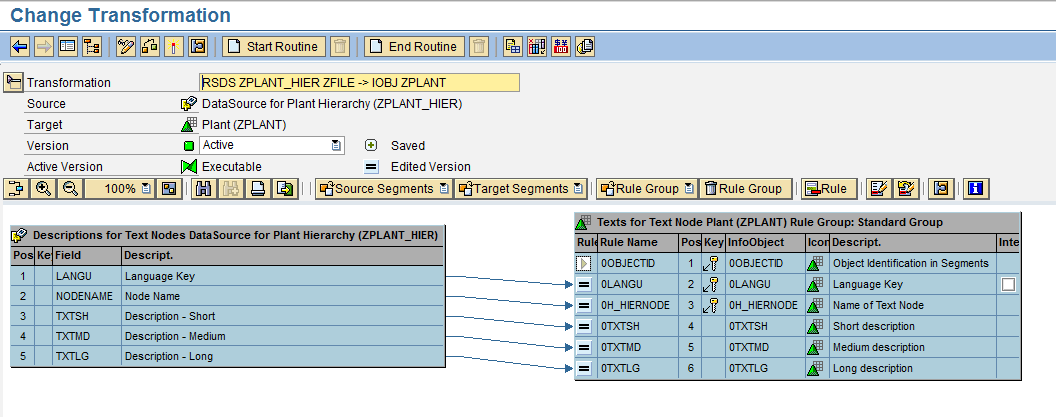
The transformation screenshot for ‘Descriptions for Text Nodes’ is given below:
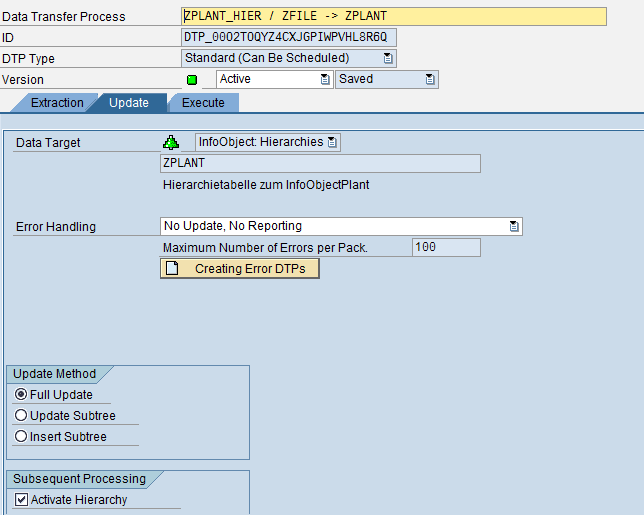
Step 4: Create a Data Transfer Process (DTP)
Select the Subtype of Object as ‘Hierarchies’. The Screenshot is given below:
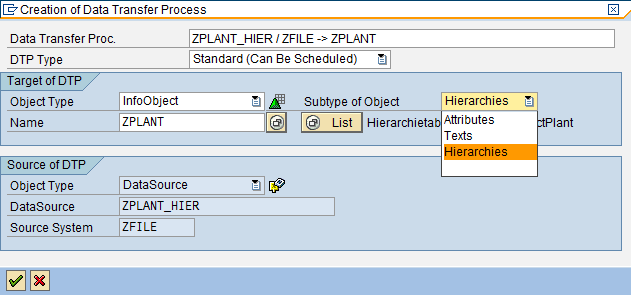
Make sure ’Activate Hierarchy’ checkbox is selected.
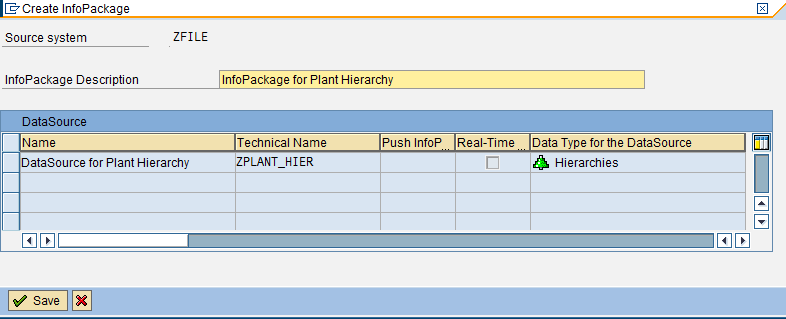
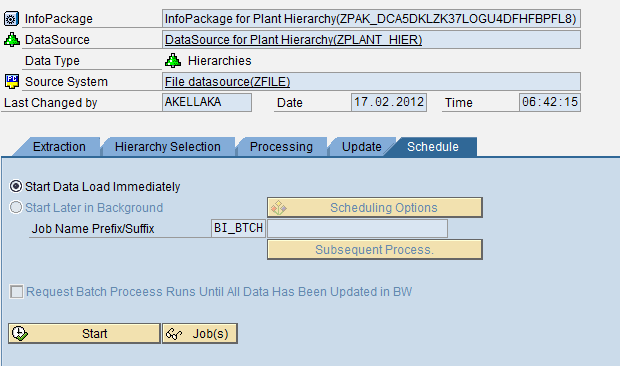
Step 5: Create InfoPackage
Give InfoPackage Description as shown below and click on save.
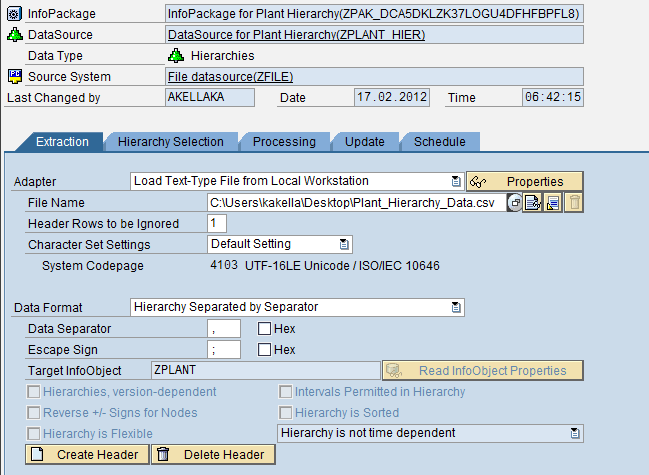
Just recheck the settings in Extraction. The screenshot is given below:
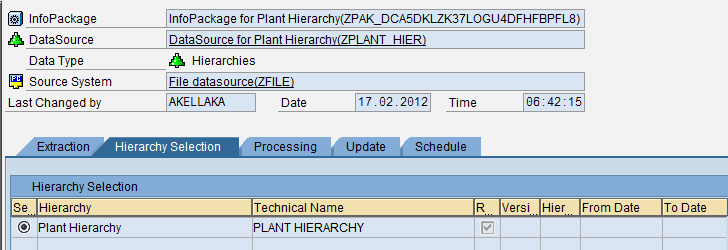
Select the Plant Hierarchy in the Hierarchy Selection tab. The screenshot is given below:
Results
Execute the InfoPackage by clicking on ‘Start’ button.
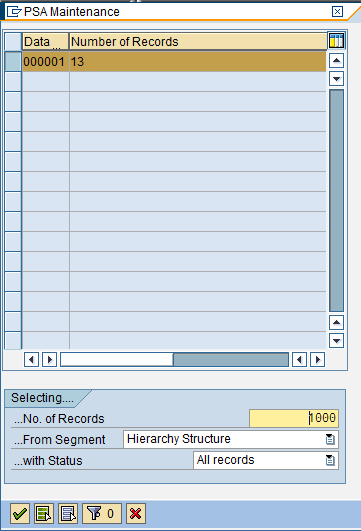
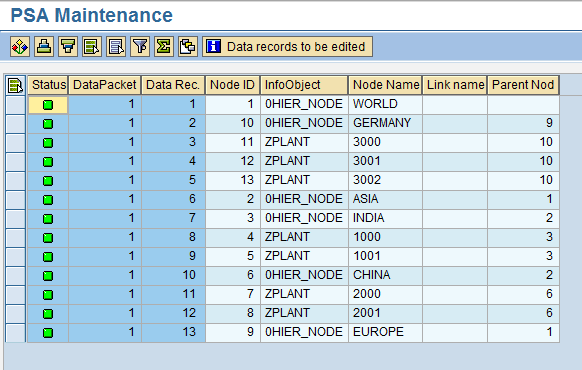
Data is loaded successfully to PSA.
The PSA maintenance screen for ‘Hierarchy Structure’ segment is given below.
Now,execute the DTP.

Now, click on ‘Maintain Hierarchies’ to see the hierarchy that is loaded.

The following screen appears:
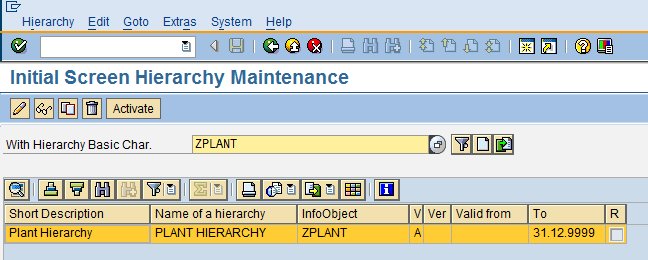
Click on ‘Plant Hierarchy’. The screenshot is given below:
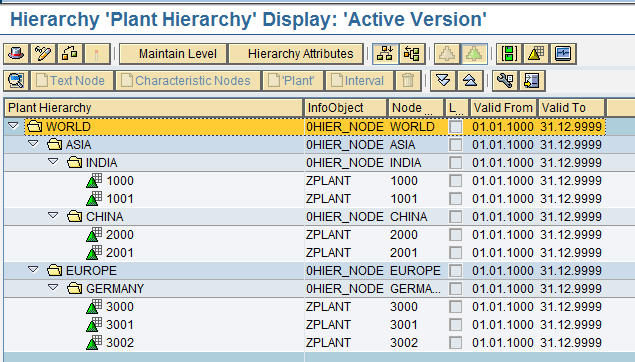
The hierarchy is loaded successfully and stored in BI system.
====================================================================================================================
How to reload a failed hierarchy Info-package
Error: Hierarchy package prompts you to select a hierarchy when attempting to reload it
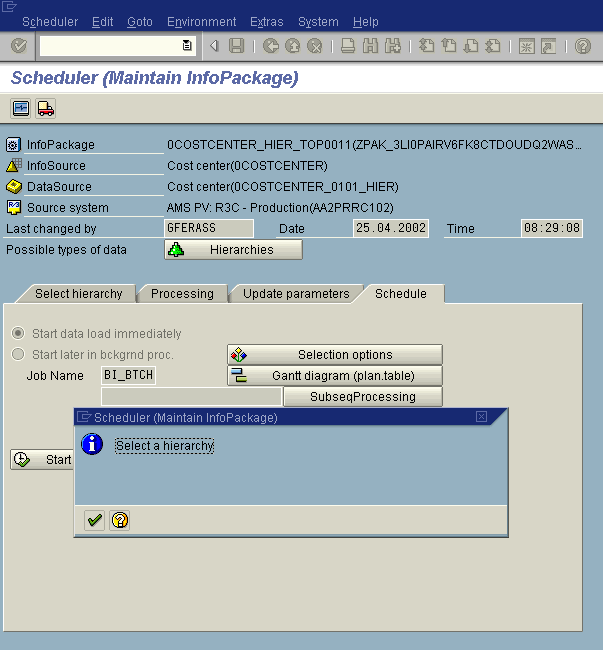
- Select the failed package, go to the header tab, and Copy the hierarchy.

2) Go to the Select hierarchy tab and do a search for the hierarchy, which was copied in the step above
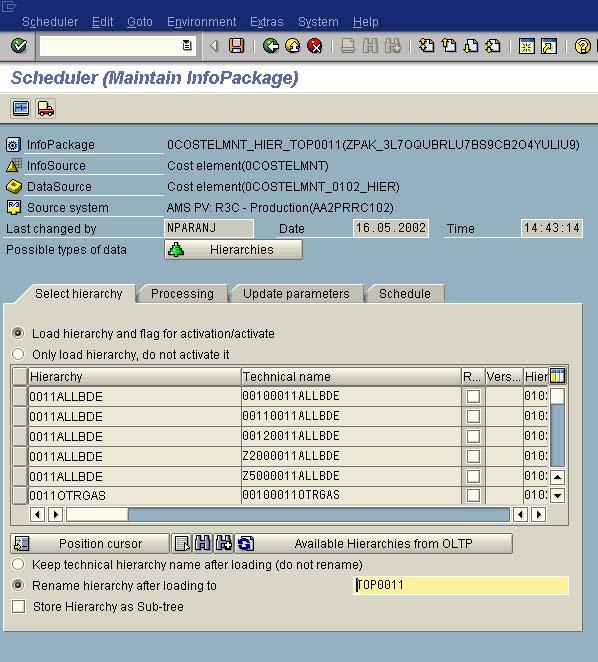
3) If no entries are found, click the button available hierarchies from OLTP
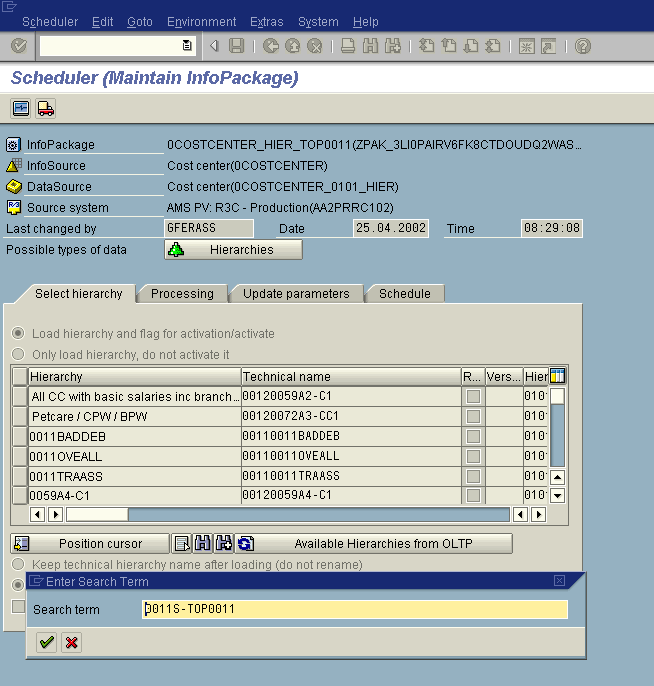
4) Once found, select the hierarchy and save it
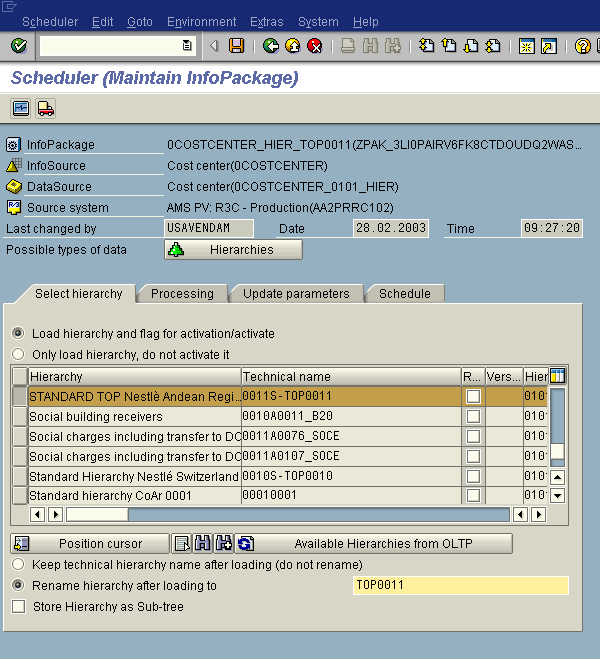
5) Lastly, go to the Schedule tab and start the IP
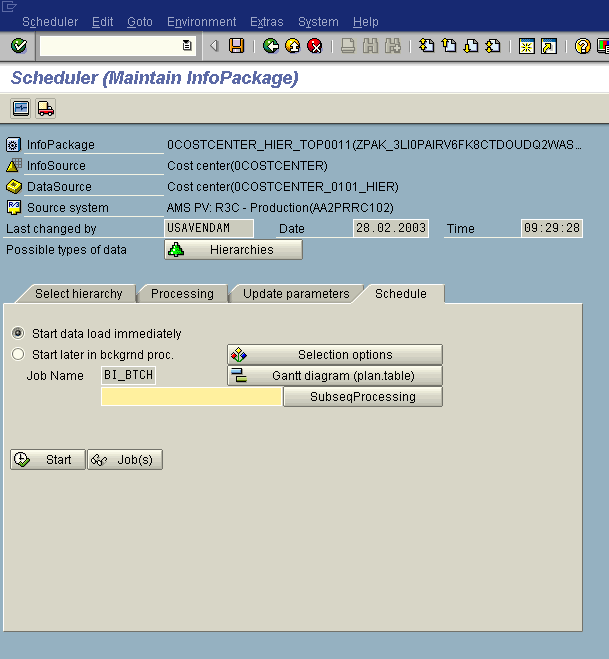
*********************